MapEdit - DOS Map Making

MapEdit was created by Bill Kirby in 1992, serving as one of the earliest map editing programs. Despite the advent of multiple other arguably more advanced editors MapEdit still sees active use today by avid fans, for reasons including nostalgia and it's simple interface, as well as ability to edit multiple different games and versions.

This guide will help you find the right version of MapEdit for you (There are quite a few), and get you started making your own maps within the program!

There are many different versions of MapEdit (There are 18 known public versions!), and each has their own compatibilities with different versions and games.

This is due to the open-source nature of the program come version 4.0, when Bill Kirby started including the source code for MapEdit with the download. After that, multiple authors expanded the program in various ways.

The important question to ask yourself when picking a version of the program is simple; what game are you editing?

If your answer is "Super 3D Noah's Ark" or "Rise of the Triad: Dark War", unfortunately, no version of MapEdit is compatible with those titles.

I'm editing the Shareware episode of Wolfenstein 3D/the Spear of Destiny demo.

In this case, the optimal version to use would be MapEdit 7.2, which was the last release to allow for editing of these versions. This was due to Apogee's request that people don't modify the shareware games at the time, allegedly because it was worried it was interfering with sales of the full version of the game.
If you're editing version 1.0 of Shareware Wolf3D (The typically circulated release is version 1.4), then you will need to download MapEdit 3.0, as it is the only version capable of making maps for it.

I'm editing the full version of Wolfenstein 3D, Spear of Destiny,  Operation Body Count, Corridor 7, or either Blake Stone game.

If you're editing one of the many other full games built on the Wolf3D engine (Sadly as mentioned prior, not including Super 3D Noah's Ark or ROTT), then the optimal version of the editor to use would be MapEdit 8.5, the last "official" version of the editor. This version won't work with any shareware or demo versions, but is the most feature complete out of all versions.

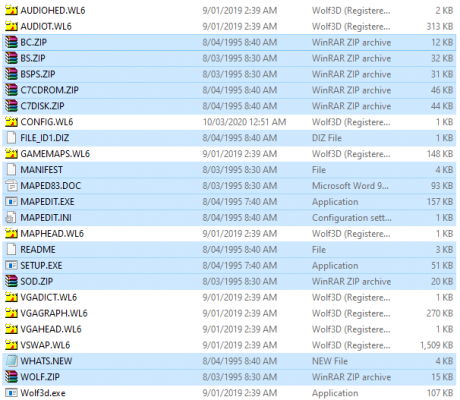
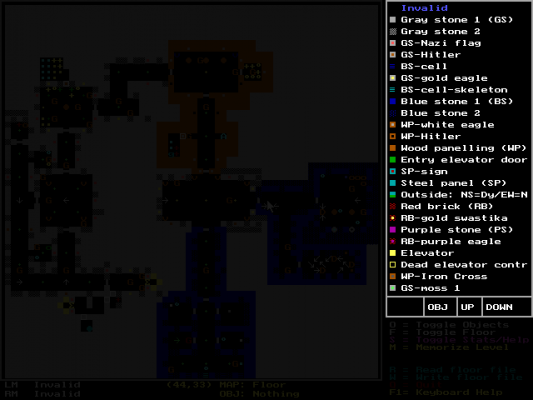
This guide will assume you are working with MapEdit 8.5, but differences between versions in use are very minimal.

MapEdit works with map files that are in the same folder as it is. So to use MapEdit to edit your levels, you will need to put MapEdit in the same directory as your game.

MapEdit Files

MapEdit stores the lists for objects, enemies and walls inside of two files; OBJDATA.* and MAPDATA.*. To edit a particular game, make sure you have both files with the appropriate file extension in your main MapEdit folder (It will be the same as the game you are editing, such as WL1 for Shareware Wolfenstein 3D, and CO7 for Corridor 7).
In some versions of MapEdit these extra data files are compressed in additional zip files. Simply identify the zip file for your game and extract those files to the main directory with the game and MapEdit in it.

Once you've set up the files, it's time to run MapEdit! As it is a DOS program, most modern computers will require an emulator such as DosBox to run. If you're unfamiliar with using DosBox, read the associated guide.

If you're successful in running MapEdit from within DosBox, you should see a similar screen to the following:

MapEdit Disclaimer

Make sure to specify the same drive you mounted to DosBox for your "temporary storage of map files", and you should be greeted with the main window of MapEdit:

mapedit

Success! This is the main screen of MapEdit, and where you will be spending all your time from now on, and can be broken down into 4 parts, which we'll look at on following pages.

mapeditmap

The first and largest part of MapEdit, is of course the map itself. The map is displayed from a top-down perspective of the level divided into tiles on a 64x64 space, with symbols representing the walls, doors, floors, objects and enemies that litter a level. Walls will generally be displayed as solid symbols that fill an entire tile.

Clicking on a tile on the map with either the left or right mouse button will place an item or wall, depending on what items are selected. These items are chosen using the menus we'll cover on the next page.

The Tile List is located on the right hand side of the screen, and contains all the things that can be added to the map.

MapEdit Tile List

This list is sorted into two categories:

MAP, which lists all the walls, doors and floor codes that can be used.
OBJ, which contains all the items and enemies that can be placed into a map.

To switch between the lists and scroll up/down, there are three buttons at the bottom of this section labelled OBJ, UP and DOWN.

Clicking on an item in the list with either the right or left mouse button will assign it to that button, allowing you to then "paint" them onto the map.

Live Map Information

The third section of the screen is small and fairly straightforward, located underneath the Map; the first column displays whatever object or wall is assigned to the left and right mouse buttons (labelled LM and RM respectively). The second column will display the coordinates of whatever map tile the mouse hovers over, as well as what objects or walls are placed on it already.

MapEdit Hotkeys

The final section of the screen contains a list of helpful hotkeys for making map editing easier.

O Toggle Objects This will toggle hiding and revealing objects and enemies on the map. Useful if you want to map specific elements without so much visual noise.
F Toggle Floors This will toggle hiding and displaying floor codes. Useful if you want to map specific elements without so much visual noise.
S Toggle Stats This will switch out this section with a stats screen showing the number of each type of tile and enemy that is on the current map. Pressing S again will return to the Hotkey Toggles.
M Memorize Level This will copy the entire map layout to the clipboard. Two new options will appear in the Hotkey List.
E Exchange Level This will replace the currently selected level with the level stored in the Clipboard. Pressing E again will reverse the process. Only visible if a map has already been stored in the Clipboard.
T Transfer Level This will replace the currently selected level in such a way that it cannot be reversed. Only visible if a map has already been stored in the Clipboard.
R Read floor file This hotkey allows you to import a map into your project, from an external file. A prompt will appear asking for the filename. If a map is loaded, it is added to the clipboard to use with the Exchange Level and Transfer Level buttons
W Write floor file This hotkey will allow you to export a single map to a new external file. A prompt will appear asking for a filename to give the map.
Q Quit This will quit MapEdit.
F1 Keyboard Help

This will bring up a detailed list of Hotkeys for MapEdit.

These elements together will allow you to express your creativity and begin making your own levels! 

To be able to save your maps when you're done working on them, all you have to do is quit MapEdit by pressing Q. When you do, you will be prompted to save your changes. Press Y if you want to save your maps to play, and N if you want to discard any changes you made this session.

MapEdit Save Screen

It's that simple!