Setting up the DOS Wolf3D source code

Thanks to John Carmack releasing the source code to the public back in 1995, people interested in making their own games can modify the engine itself to create whole new features and effects.

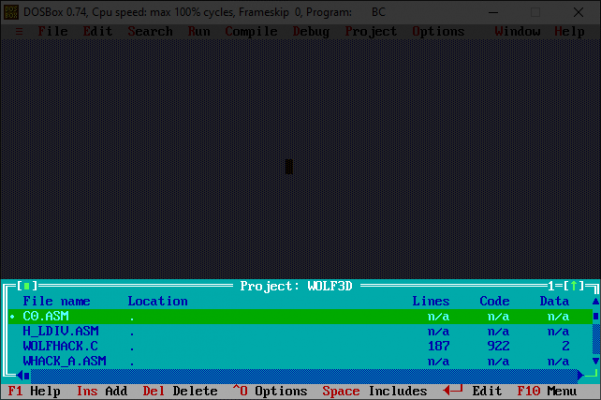
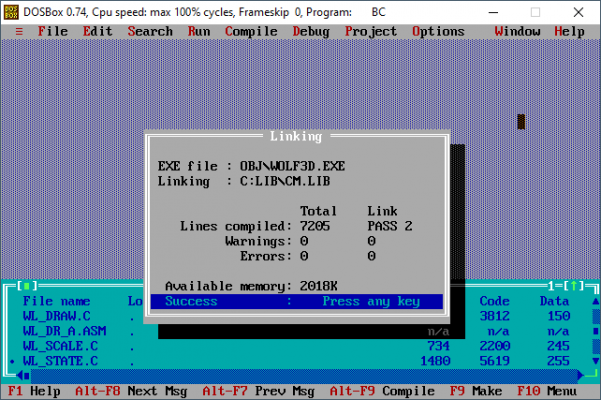
At the end of this guide you will have learned how to compile a working exe for the full version of Wolfenstein 3D for DOS.

The tools you will need:

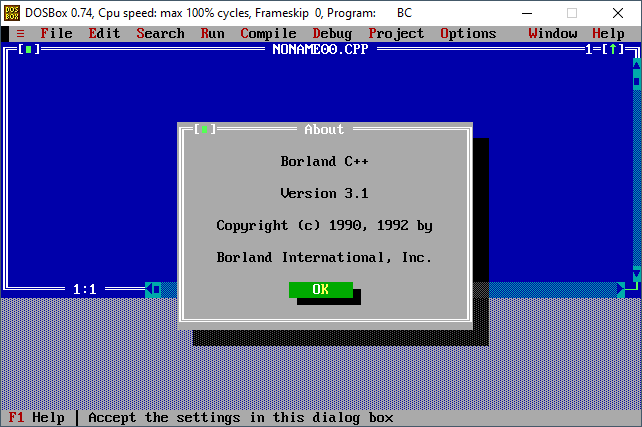
  • Borland C++ Compiler 3.1 - Once set up, this is the program that will take the source code and turn it into a usable executable file. A copy is available for download at the bottom of this page.
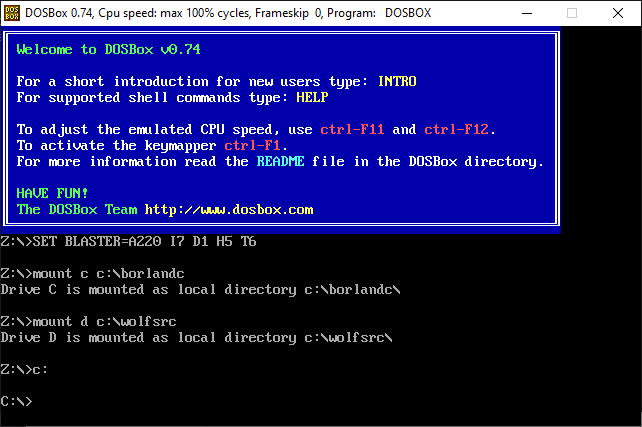
  • DosBox - On modern systems such as Windows 10 which don't include DOS, DosBox provides the ability to emulate the systems needed for the compiler and Wolfenstein 3D to run.
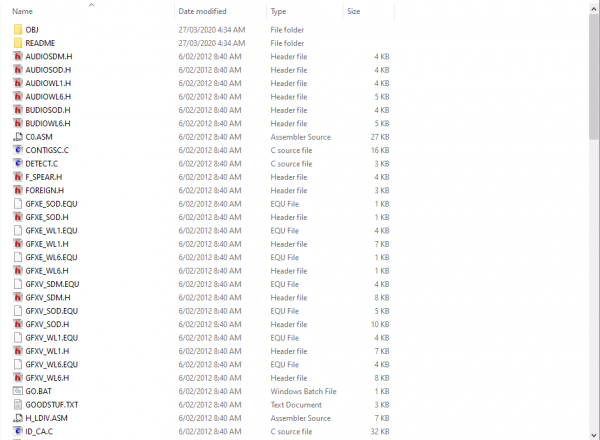
  • The Wolf3D Source Code - The most important part. With no source code, there's no game to compile!
  • A text editor - While it is possible to edit the source code from within Borland (And indeed this is how many of us used to do it!), it is far easier to use another program for the actual editing.
    While Notepad will suffice, it is recommended to use Notepad++, a robust and completely free text editor with extra features to make reading the code easier.

First thing we have to do is get all the files ready to use.

1. The source code.

If you downloaded the source code from the previous page of this guide, you will require all the files in the WOLFSRC folder. Extract the zip file, and move the WOLFSRC folder to your preferred location. (For this tutorial we'll be putting the folder directly into C:\. So the source will be located in C:\WOLFSRC\).

You should see the following files in the folder.

C:\WOLFSRC

These are the source code files you will be changing later to modify the game. But first we need to get it building the files without changes, to make sure it works.

2. Borland C++ 3.1

Extract BORLANDC.zip to a new folder (For this tutorial we'll be using C:\BORLANDC).

Copy the TASM.EXETASM2MSG.EXE, and TASMX.EXE files from C:\BORLANDC\BIN and paste them in your source code folder (C:\WOLFSRC). If you don't do this, you may experience an error when attempting to compile.

3. DosBox

Install DosBox to whatever location you desire, as long as it's on the same computer as your source code and Borland C++ Compiler.

Now that all the files are set up, start DosBox. We are going to "mount" two drives; one for Borland, and one for the folder containing the source code. For this guide, we'll be using drives C: and D:.

In DosBox, type the following two lines to mount the drives, and the third to enter the new drive containing Borland C++.

mount c c:\borlandc

mount d c:\wolfsrc

c:

If done correctly, your screen should look similar to the following.

DosBox

What we have done here is told DosBox that two drives exist, and what they have inside them. So when we go to drive "C:\", we're actually inside C:\BORLANDC.

Now that we are inside the Borland C++ directory, all that is left is to run the program itself. In this case, since the executable is located inside the "bin" folder, we need to type the following:

bin\bc.exe

When you press enter, you should be greeted with the following screen:

Hello, Borland!

This means we're successful in running the compiler! This is the same program that id Software used to develop their games, though obviously not in the exact same environment.

If you weren't successful in running Borland C++, make sure you followed the above steps. Did you mount both drives? Have you navigated to the drive you mounted Borland C++ in? Is bc.exe inside the folder at "C:\borlandc\bin"?

Now that we're set up and running, on the next page we will look at how to load the source code into the compiler, and set them up appropriately.

Now that we're in Borland, it's time to get into the project itself. Click on Project->Open Project in the menu, and type the name of the drive you mounted the source code on (In this tutorial that was the D: drive). Click OK or press Enter, and you should see the following

Select WOLF3D.PRJ from that list, either double-clicking on the file or clicking OK. If you're successful in loading the project, you should see the following at the bottom of the window.

WOLF3D.PRJ Filelist

Well done! However, two necessary files are currently incorrectly linked in the project. Scroll down the new list until you find the files SIGNON.OBJ and GAMEPAL.OBJ. Select each one, removing them from the project by pressing the DELETE key.

SIGNON.OBJ and GAMEPAL.OBJ

While you absolutely need these files to be able to compile the game, we need to point the project to the correct location. Navigate to Project->Add Item, and make sure that the name section is pointed to the correct drive (Remember, in this tutorial it is D:). If done correctly you should see your source files

Borland Source Files

Scroll through this list until you find the OBJ\ folder, and double click it to enter it.

The folder will appear empty, but that's only because we're still searching for files using the .C extension in the Name field. Change the *.C to read *.OBJ and press ENTER.

Borland OBJ directory

Click on GAMEPAL.OBJ in this list, then click the Add button to place it back into your project. Do the same with SIGNON.OBJ. Click the Done button to confirm.

There's just one more thing to do; Borland has to be told what folders to work with when compiling. Navigate to Options->Directories, and change the options that appear to the following:

  • Include Directory: C:\INCLUDE
  • Library Directory: C:\LIB
  • Output Directory: OBJ
  • Source Directory: D:\
Borland Directories

Click OK, and we're on to the final step!

If you've followed all the other steps until now, we're ready to compile the game! Navigate to Compile->Build All, and if all goes well Borland should compile a brand new WOLF3D.EXE file in the directory you chose as the OUTPUT directory in the last step (In this tutorial, that's \OBJ)

Borland Compiling

Take the exe from your Output Directory, and place it in a directory with the Wolfenstein 3D game files, and try running the game to see if it works!

Now that this initial setup is done with this project, future sessions will only require mounting the two drives in DosBox and opening the project in Borland to be ready to compile.