In WDC, most commonly and uncommonly edited elements of the game are altered in virtually the same way (This goes for the sprites for Walls and Objects, as well as sounds, music, fonts, Read This pages and virtually every other element of the game).
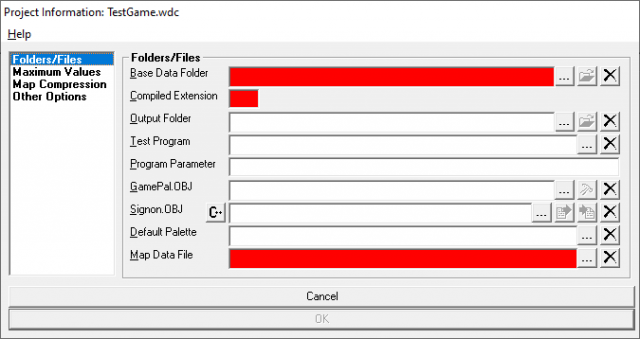
The game designer (You!) will select replacements for things, and when the project is compiled, it will combine the files of the game designated in your project's Base Game Folder with your alterations, to create a new game in your chosen Output Folder.
Each part of the game that can be edited is divided into separate tabs in WDC, accessed through a collection of icons:
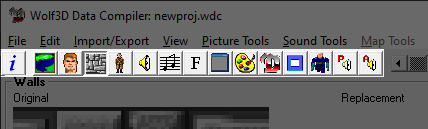
In order, these buttons are:
- Project Information Brings up the Project Information window you fill out when starting a New Project
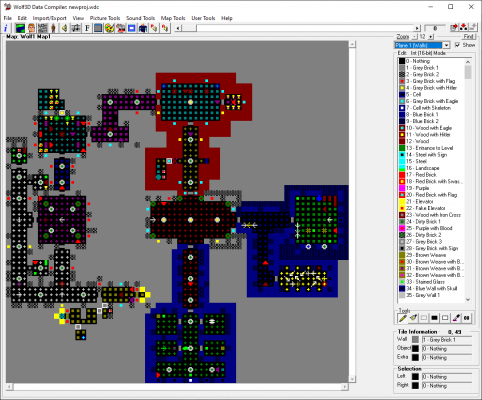
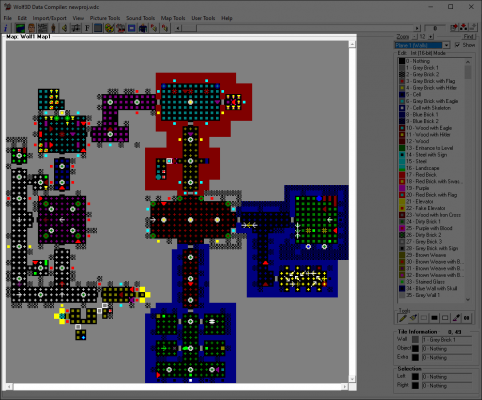
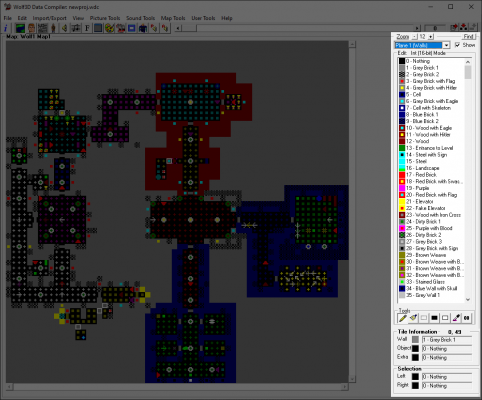
- Maps The Map Editing Screen
- VGAGRAPH Images The collection of images from the VGAGRAPH (or equivilant) file, including Menu and Statusbar images
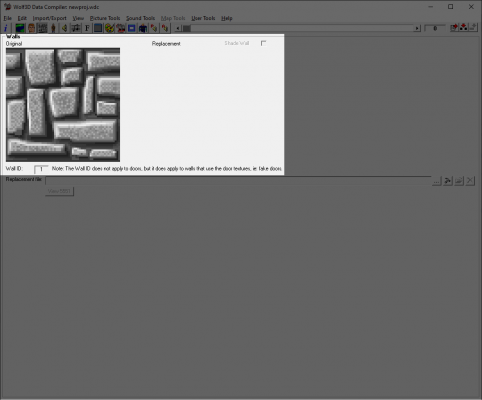
- Walls/Doors The sprites for wall and door textures
- Objects/Enemies The sprites for objects and enemies, as well as player weapon sprites
- Sounds The sound effects for the game
- Music The music tracks for the game
- Fonts The fonts used for text in the game
- DOS Endscreen The screens that show up in DOS once the game is exited
- Colour Palette The palette the game utilizes. In the original Wolf3D this is actually stored in the engine itself, but Spear of Destiny includes this in it's game files instead.
- Demo Information In some cases when the game is left idle on the menu with no game currently paused, it will play through a demo file, which has an AI character play through a series of inputs, seen in this tab.
- Tile8 This is a special image used for the Debug windows and other functions usually beyond the necessity of a Wolf3D project.
- Endart/Read This! If enabled in a project, this section is for the in-game manual and endscreens
- PC Audio Beeps and boops, the base sounds for the game
- Adlib Audio Better beeps and boops.
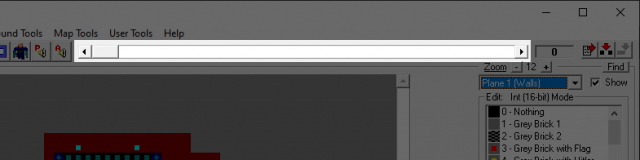
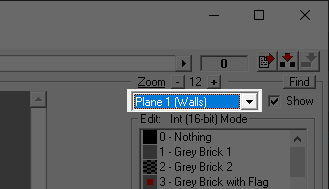
While each tab is dedicated to it's own game elements, the way they work with them is largely the same. In each tab is a scrollbar to the right of the toolbar we just looked at, which is used to scroll through each item in the tab.

The way items display vary on the tab (Sounds will display as a list and waveform, while Images will display a visible preview of the image), but the structure is always the same (The original item on the left, the replacement -if any- displayed on the right).
Replacing Items
WDC expects that the majority of changes made to the game will be made by adding external files to replace things. As such, each tab has a Replacement file bar:

The bar itself will display the local address leading to the replacement, whatever type it may be, and generally includes four buttons:
-
 Insert File - If you have an appropriate item to put in place of the currently selected original, you can click this button to point WDC as the current replacement. When your game is compiled, it will use this item instead of the original.
-
 Edit Item - Depending on what is being edited, this button may be enabled. Using it will allow you to edit the item (Such as a sprite) from within WDC itself, creating a replacement file of the new item automatically.
-
 Open the replacement file's folder - As it says on the packaging, really. This button will open the folder in a new window.
-
 Use original data - This will delete the current replacement item, and go back to using the original. If the itemwas added with one of the “Add Chunk” buttons, it will delete the entry entirely.
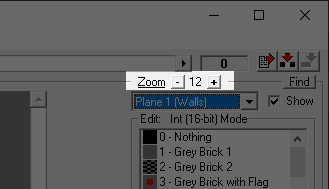
Export Item/Add Chunk

Here, there are three buttons. The first is a dedicated  Export button for saving a copy of the currently selected game item to a new file.
The second and third buttons are for adding new items to the file rather than replacing old art. Doing this requires changes to the engine in order to make use of these options properly.
-
 Add Chunk - This will add a new sprite entry before the currently selected sprite.
-
 Add Chunk to End - This button will be clickable when viewing the very last sprite in a tab. Doing so will add a new sprite entry at the very end of the file. This is usually the best option as to avoid disrupting the rest of the core game.
To repeat, new chunks should only be added if you are sure; your project will likely need direct changes to the source code to recognize them.
Most elements of the game are edited in WDC using the above tools or a similar variation of them, with the exception of Maps, which we will explore on the next page.